Garage Workshop Setup: Power Layout, Tool Organization, and Essential DIY Guide
Picture this: your garage door rolls up to reveal not a jumble of holiday bins and forgotten lawn gear, but a sleek, humming workshop ready for any project—from building a birdhouse to tackling a full kitchen remodel. Transforming a standard garage into a functional garage workshop setup demands smart planning, especially around power, organization, and the right DIY workshop tools. This guide walks you through the essentials, starting with circuits and outlets, moving to lighting and storage, and ending with a starter kit that scales as your skills grow.
Planning Your Garage Power Setup
Power is the backbone of any serious garage power setup. Skimp here, and you'll face tripped breakers mid-cut or extension cords snaking like vines across the floor. Start by assessing your garage's electrical panel. Most homes have 15-amp circuits, fine for lights but inadequate for power tools. Aim for dedicated 20-amp circuits for heavy hitters like table saws or air compressors.
Map your outlets strategically: place four to six 20-amp duplex outlets along the back wall, spaced every 4-6 feet. Add two 240V outlets for larger tools—think welder or dust collector. Run conduit from your panel, using 12-gauge wire for 20-amp runs. If you're not comfortable with wiring, hire an electrician, but DIY the layout planning. Tools like a circuit analyzer ensure balance and prevent overloads.
For a plug-and-play option, check out the Build-a-Kit Garage Power Setup from Musthavit.ai. Customize with extension cords, surge protectors, and heavy-duty outlets. Grab three items for 10% off, four for 15%, or five for 20%—a practical way to build out your power without breaking the bank.
Upgrading Lighting for Precision Work
From Dim to Detailed
Poor lighting turns a simple drill job into a guessing game. Overhead fluorescents flicker and cast shadows; upgrade to LED shop lights for 5,000 lumens per fixture. Mount four 4-foot LEDs across the ceiling for even coverage, aiming for 50 foot-candles at workbench height.
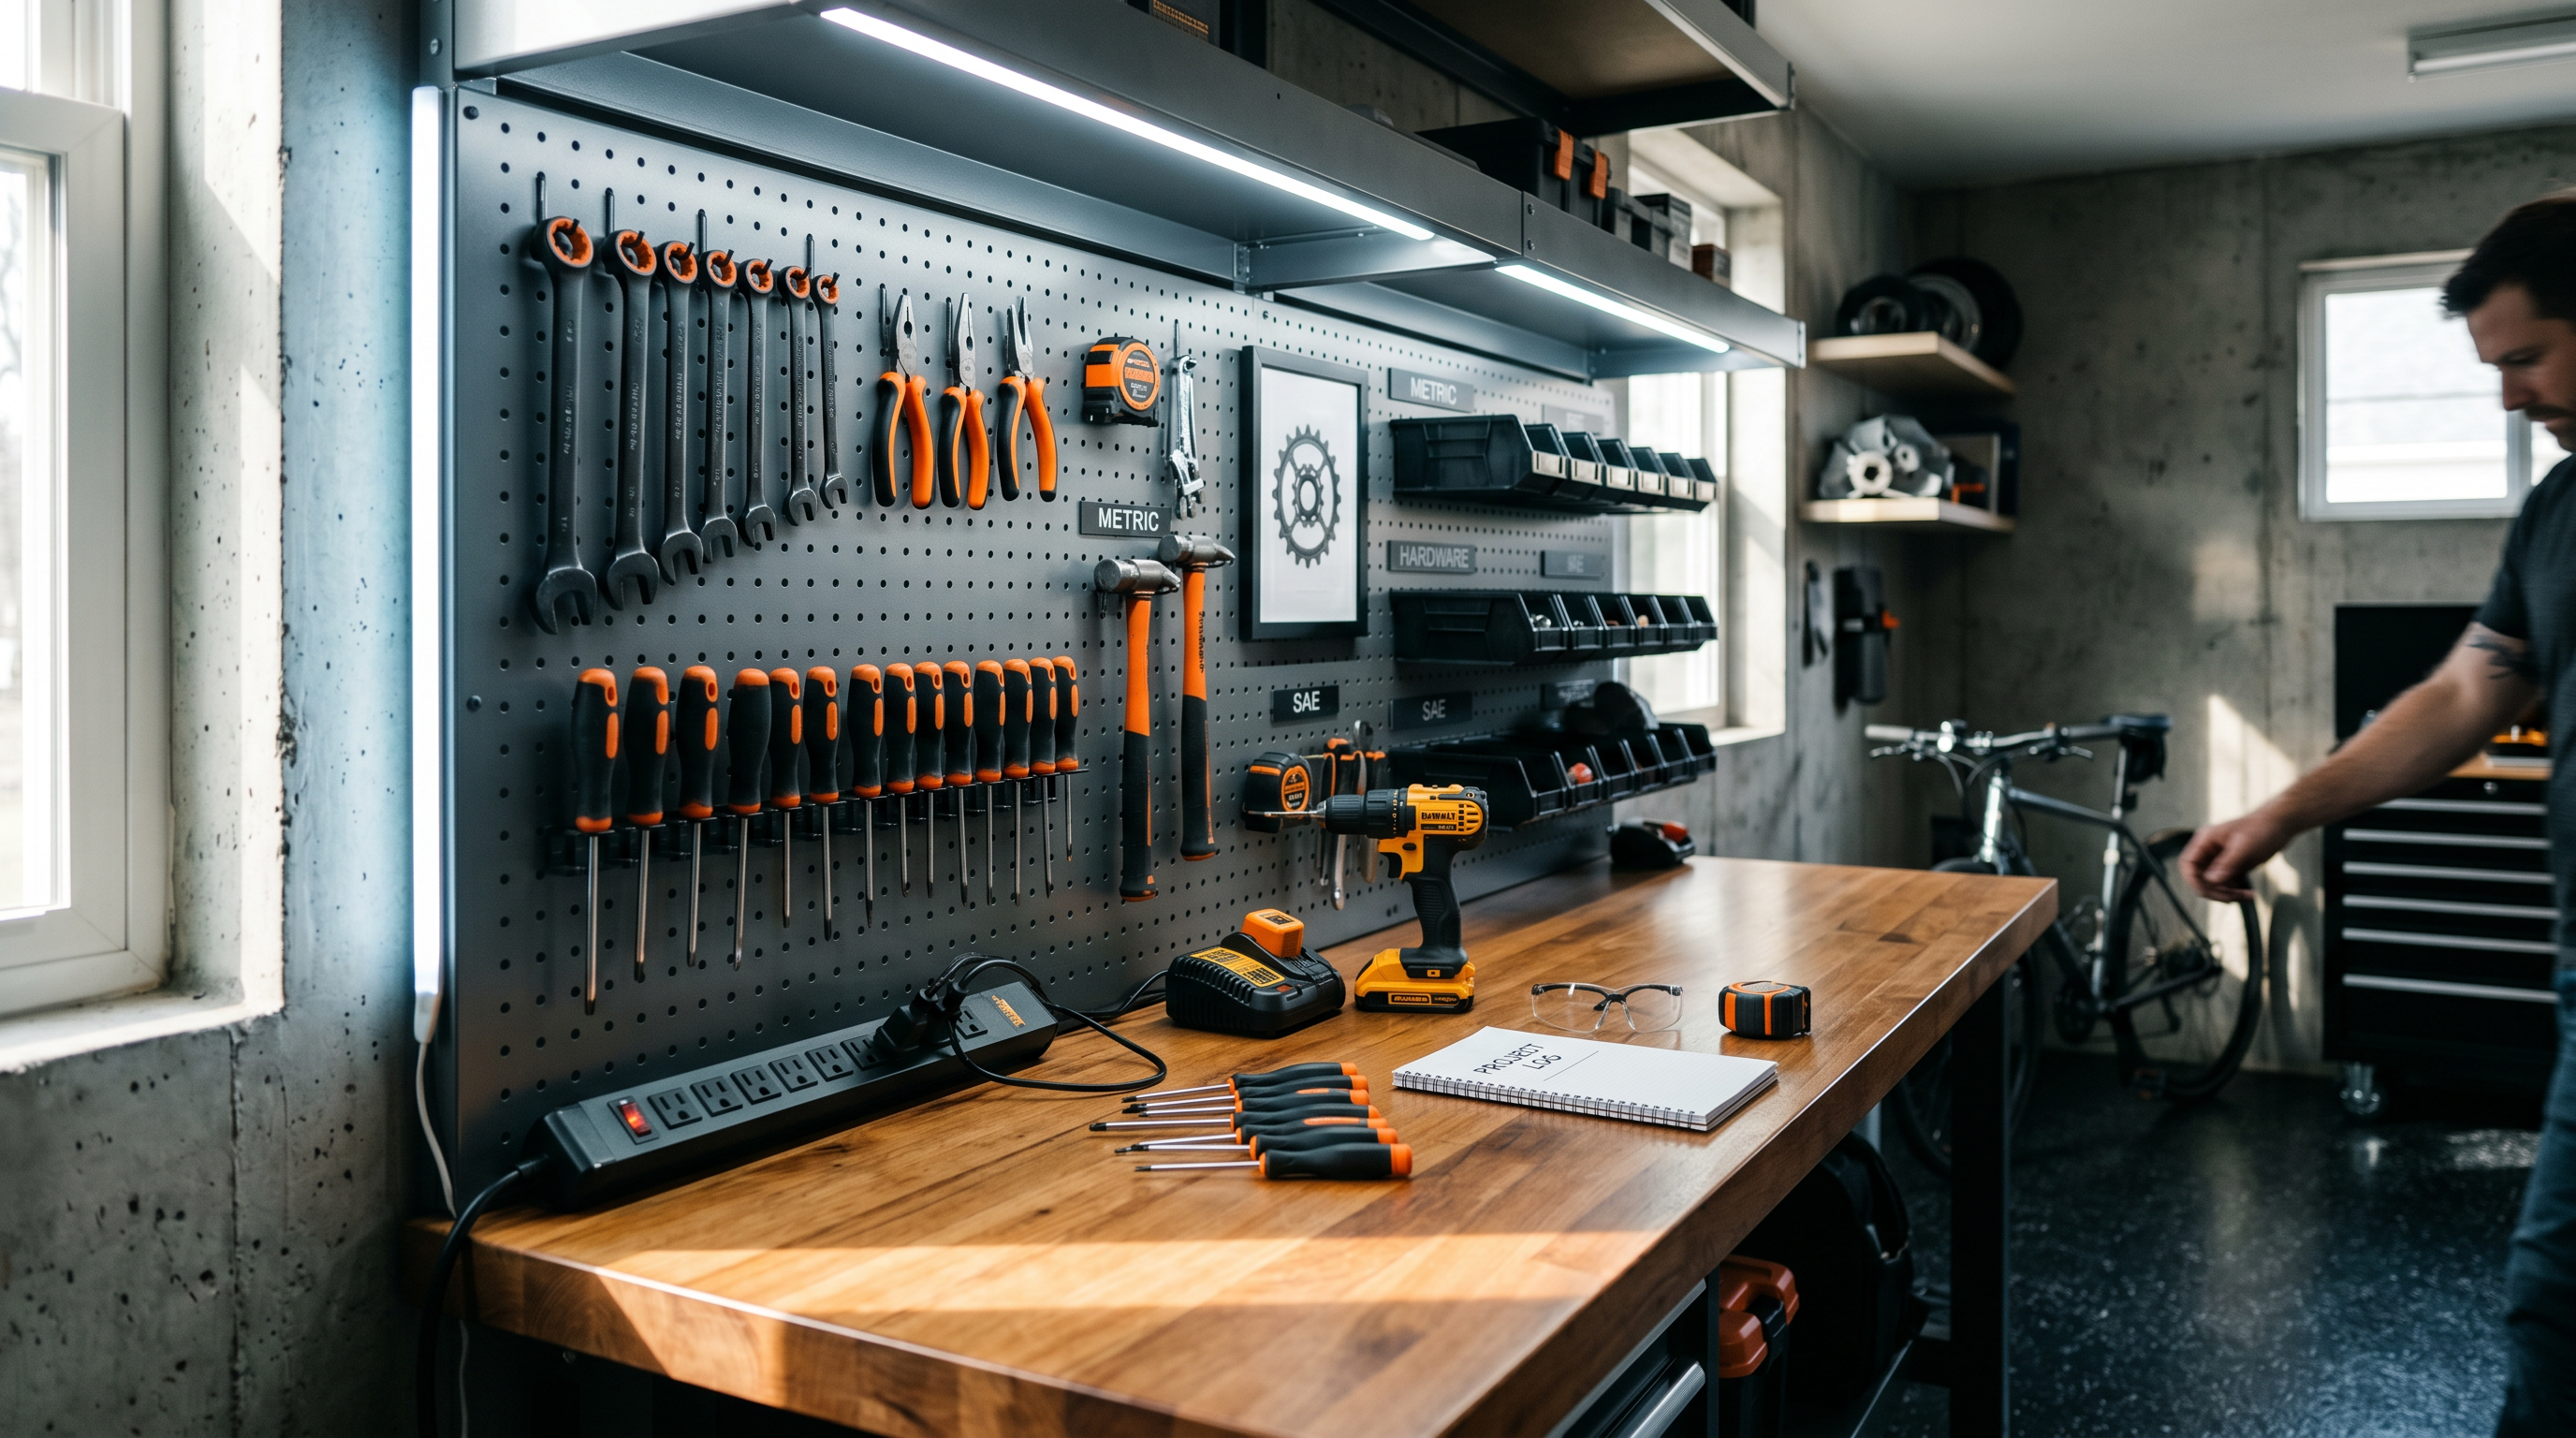
Task lighting seals the deal: clamp LED work lights over benches and pegboards. Dimmable strips under shelves highlight fine details. Wire these on separate circuits to avoid flicker when tools kick on. The result? A space where you spot every splinter without straining your eyes.
Mastering Tool Organization Systems
Pegboards, Shadows, and Beyond
Tool organization isn't about tidiness—it's efficiency. A misplaced wrench kills momentum. Install a 4x8-foot pegboard on one wall, framed with 2x4s for rigidity. Customize with hooks for pliers, shelves for clamps. Outline tools on foam shadow boards inside cabinet doors; pull one out, and the empty shape screams if it's missing.
- Wall-mounted slatwall panels for power tools—adjustable rails hold sanders and drills securely.
- French cleat systems on vertical surfaces: cut plywood cleats at 45 degrees, hang bins that slide off effortlessly.
- Rolling tool carts under benches for frequent grabs like screwdrivers and tape measures.
- Overhead racks for lumber and plywood, freeing floor space.
Label everything. Magnetic strips on metal cabinets corral bits and blades. This setup adapts as your collection grows, from weekend warrior to full-fledged maker.
Workshop Essentials: Your Starter Tool List
No need for a $10,000 arsenal. Focus on workshop essentials that handle 80% of home projects. Build this core, then expand.
- Power Drill/Driver Combo: 20V cordless with bits for every material.
- Circular Saw: 7-1/4 inch blade, worm-drive for torque.
- Random Orbital Sander: Variable speed for flawless finishes.
- Miter Saw: 10-inch sliding compound for precise cuts.
- Table Saw or Jobsite Saw: Compact for crosscuts.
- Measuring Tools: Tape, digital caliper, laser level.
- Hand Tools: Claw hammer, speed square, chisels, flush-cut saw.
- Safety Gear: Glasses, ear protection, dust masks, gloves.
Store them per your organization system. Invest in quality—Milwaukee or DeWalt hold up. This lineup grows with you: add a router table next, then a CNC if ambition strikes.
Putting It All Together
Your garage workshop setup evolves from bare concrete to a command center. Start with power and lighting for reliability, layer in tool organization for sanity, stock DIY workshop tools for action. It's not a weekend sprint—a deliberate build that rewards every nail driven. Step back, plug in, and make something real. Your projects await.